Docker Panel Installation
Please see the Minimum Requirements section in the Panel Overview documentation.
Which image should I use?
If you only plan to run a single node (Panel + Wings on the same host), use the All-in-One (AIO) image. It ships the Panel and Wings together in one container, which makes the setup noticeably simpler: one compose file, one service to start, no separate node to register, no additional Wings reverse proxy configuration. This is the recommended path for most users.
If you plan to run multiple nodes, or want to keep the Panel and Wings on separate hosts, use one of the standalone Panel images (:latest or :heavy) and install Wings separately following the Wings Docker Installation guide.
Use a heavy variant (AIO or standalone) only if you intend to install extensions - it bundles the build tooling needed to compile them. Otherwise stick with the non-heavy image; it has a smaller footprint.
Docker Image Variants
The Calagopus Panel Docker image comes in several variants:
Standalone Panel images
Use these if you are running the Panel on its own and Wings on separate hosts.
| Variant | Description |
|---|---|
:latest | The latest stable release of the Calagopus Panel. Optimized for production use and does not include development tools. |
:latest-pre | The latest pre-release version. May contain new features and bug fixes not yet in :latest, but also potentially new bugs. Not recommended for production. |
:nightly | The latest development build. Updated frequently, may contain new features and bug fixes not yet in :latest or :latest-pre. Not recommended for production. |
:heavy | The official image for installing extensions in Docker deployments. Includes the build tools and dependencies needed to compile and run them. |
:heavy-pre | Pre-release variant of :heavy. Same trade-offs as :latest-pre. |
:nightly-heavy | Development-build variant of :heavy. Same trade-offs as :nightly. |
All-in-One (AIO) images
These bundle the Panel and Wings in a single container. Pick one of these if you only need a single node.
| Variant | Description |
|---|---|
:aio | The latest stable release of the Panel and Wings bundled together. Recommended for single-node setups. |
:heavy-aio | AIO variant with the development tools needed for extensions. Use if you plan to install extensions on a single-node setup. |
:nightly-aio | Development-build AIO variant. For users who want to live on the edge. |
:nightly-heavy-aio | Development-build AIO variant with extension support. |
Getting Started
Install Docker
Ensure you have Docker and Docker Compose installed on your system. You can validate your Docker installation by running:
docker --version
docker compose version # if this says "command not found" you may need to use `docker-compose` instead or update your docker installation
If Docker is not installed, please refer to the official Docker installation guide for your operating system. In many cases running Docker's installation script is the easiest way to get started:
curl -sSL https://get.docker.com/ | CHANNEL=stable bashThis should automatically install Docker Compose as well. If not, you can follow the Docker Compose installation instructions.
Option A: All-in-One (recommended for single-node setups)
The AIO image runs the Panel and Wings inside the same container. You do not need to install Wings separately or register a node manually - the bundled Wings is wired up through the Panel automatically.
1. Download the AIO Compose Stack
mkdir calagopus-panel
cd calagopus-panel

curl -o compose.yml https://raw.githubusercontent.com/calagopus/panel/refs/heads/main/compose.aio.yml
ls -lh # should show you the compose.yml file
2. Create the Wings configuration file
WARNING
This step is mandatory before the first docker compose up. The compose file mounts ./wings-config.yml into the container as a file. If the file does not already exist on the host, Docker will helpfully create it as a directory, which will break the container. Create the file first.
echo 'app_name: Calagopus' > wings-config.ymlYou can leave the file empty - the AIO container will populate it on first startup. You only need to make sure the file exists so the bind mount attaches correctly.
3. Change the Docker Image Variant (Optional)
By default, compose.yml uses the :aio variant. If you want to use a different variant (for example :heavy-aio for extension support, or :nightly-aio to live on the edge), open compose.yml in your preferred text editor and change the image tag on the web service. See the Docker Image Variants section above for details on each.
4. Configure Environment Variables
Open compose.yml in your preferred text editor and review the environment variables on the web service. See the Environment Configuration documentation for details on each variable.
At minimum you must set APP_ENCRYPTION_KEY to a random value. If you want a one-liner:
RANDOM_STRING=$(cat /dev/urandom | LC_ALL=C tr -dc 'a-zA-Z0-9' | fold -w 32 | head -n 1)
sed -i -e "s/CHANGEME/$RANDOM_STRING/g" compose.yml
5. Start the Panel
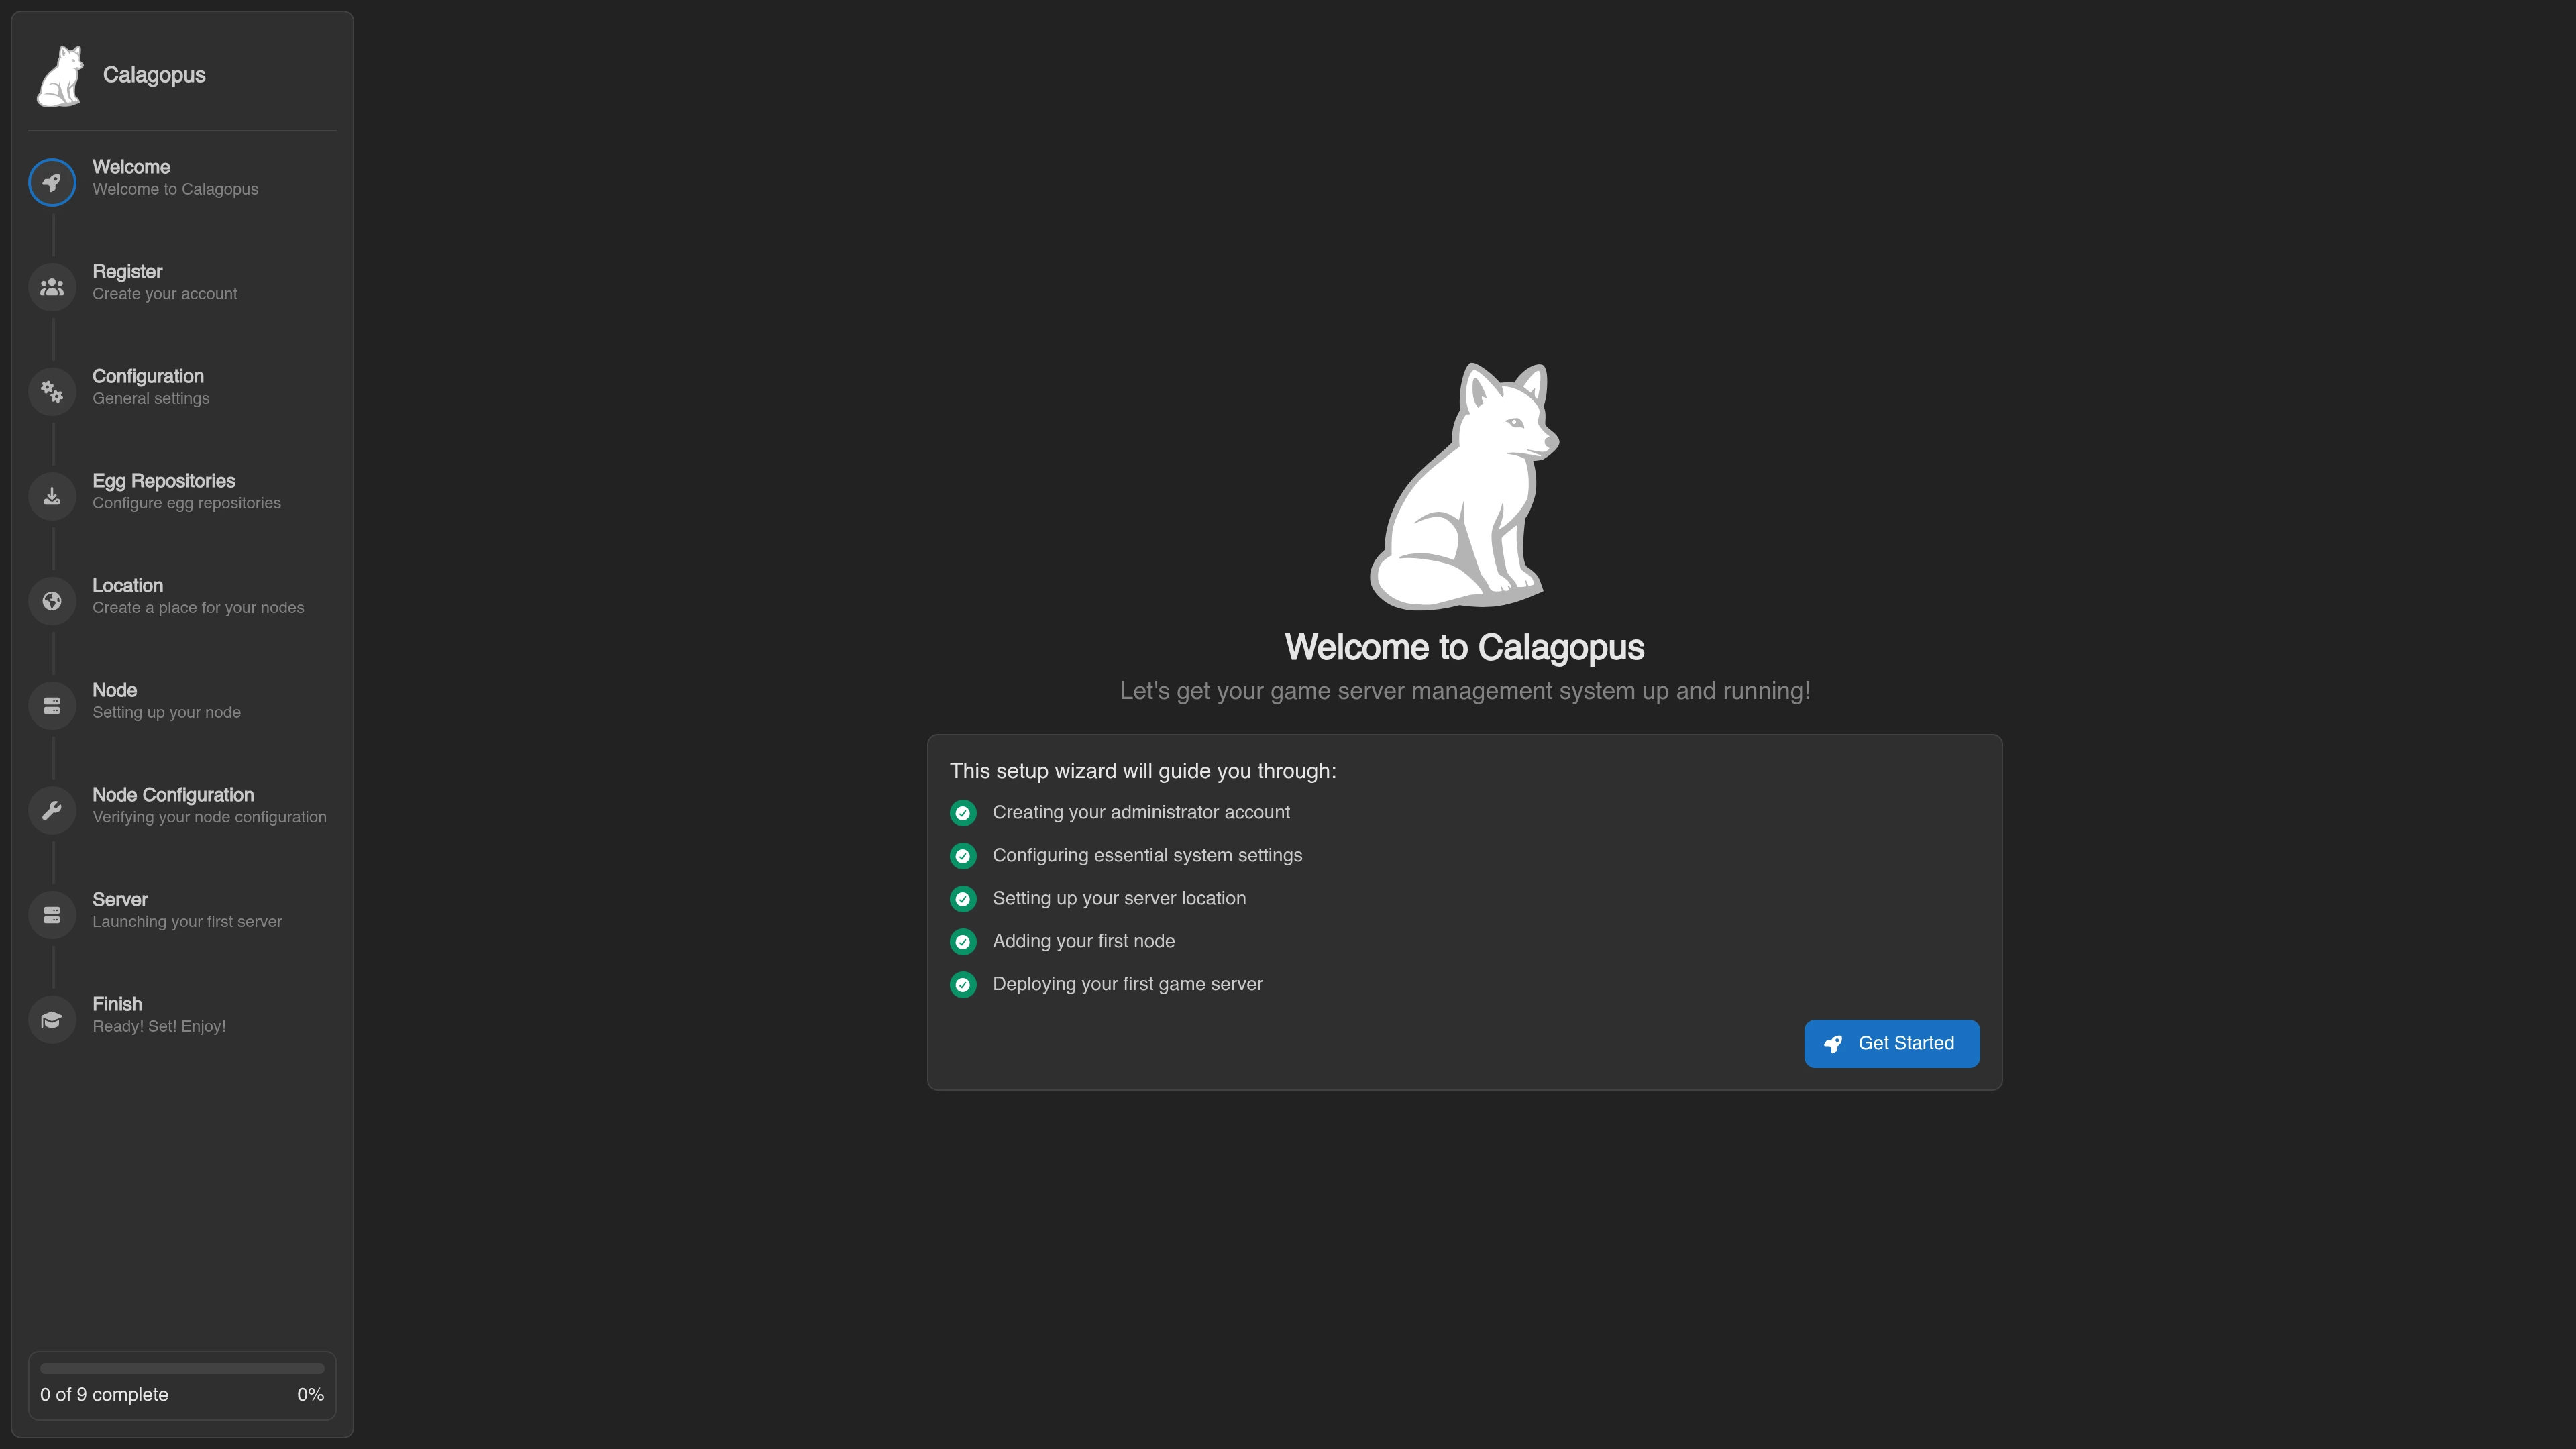
docker compose up -dThis will download the necessary Docker images and start the stack in detached mode. Once it's up, navigate to http://<your-server-ip>:8000 in your web browser and you'll see the OOBE (Out Of Box Experience) setup screen.
Option B: Standalone Panel (multi-node or split-host setups)
Use this option if you want the Panel on one host and Wings on one or more separate hosts.
1. Download the Panel Compose Stack
Pick the compose file that matches your needs:
mkdir calagopus-panel
cd calagopus-panel

curl -o compose.yml https://raw.githubusercontent.com/calagopus/panel/refs/heads/main/compose.yml
ls -lh # should show you the compose.yml filemkdir calagopus-panel
cd calagopus-panel
curl -o compose.yml https://raw.githubusercontent.com/calagopus/panel/refs/heads/main/compose.with-db-backups.yml
ls -lh # should show you the compose.yml filemkdir calagopus-panel
cd calagopus-panel
curl -o compose.yml https://raw.githubusercontent.com/calagopus/panel/refs/heads/main/compose.heavy.yml
ls -lh # should show you the compose.yml fileThe Basic compose uses the :latest image and is the right choice for most standalone Panel installations. The Basic with automatic Database Backups variant adds a small sidecar that periodically backs up the Postgres database. The Heavy compose uses the :heavy image and includes the volume mounts needed to install extensions - pick this one only if you know you'll be using extensions.
2. Change the Docker Image Variant (Optional)
If you want a different tag than what your chosen compose file ships with (for example :nightly or :latest-pre), open compose.yml in your preferred text editor and change the image tag on the panel service. See the Docker Image Variants section above for details.
WARNING
If you switch from a non-heavy variant to a heavy variant after the fact, you will also need to add the compose mounts required for extensions to work. See the compose.heavy.yml file for reference.
3. Configure Environment Variables
Open compose.yml in your preferred text editor and modify the environment variables as needed. See the Environment Configuration documentation for details on each variable.
At minimum, set APP_ENCRYPTION_KEY to a random value:
RANDOM_STRING=$(cat /dev/urandom | LC_ALL=C tr -dc 'a-zA-Z0-9' | fold -w 32 | head -n 1)
sed -i -e "s/CHANGEME/$RANDOM_STRING/g" compose.yml
4. Start the Panel
docker compose up -dThis will download the necessary Docker images and start the Panel in detached mode. Once it's up, navigate to http://<your-server-ip>:8000 in your web browser to see the OOBE (Out Of Box Experience) setup screen.
5. Install Wings
Since this is a split-host setup, you now need to install Wings on each node that will actually run game servers. Follow the Wings Docker Installation guide on each node host.